Enable AWS VPC Flow Log
Go to AWS Console and navigate to VPC. Select the VPC and click on Flow Logs.
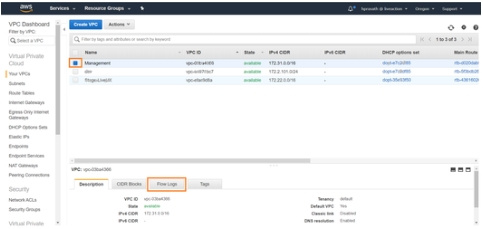
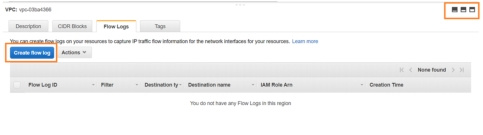
We can use the toggle buttons on the right to display different size screens. Click on 'Create flow log.'
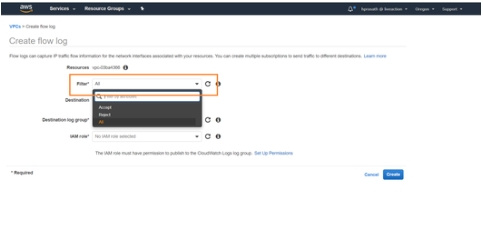
It will take us to Flow Log window. Select the filter 'All' in the dropdown.
For Max Aggregation Interval:
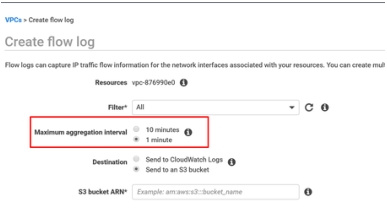
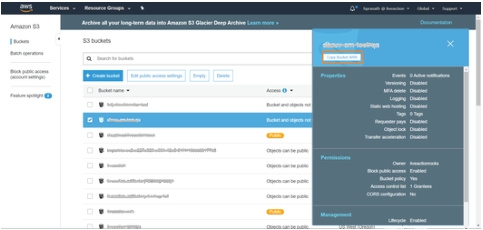
Set it to 1 minute. So, each flow record would be aggregated for a 1-minute time interval, like time out setting in router NetFlow. But the records are written to S3 approximately every 5 minutes. And on interfaces attached to Nitro based EC2 instances, the maximum is always 1 minute even if a higher value is selected. For the Destination select 'Send to an S3 Bucket.' For bucket arn, open s3 in another tab and copy the ARN as below.
Paste the copied ARN value in the text box 'S3 bucket ARN*.'
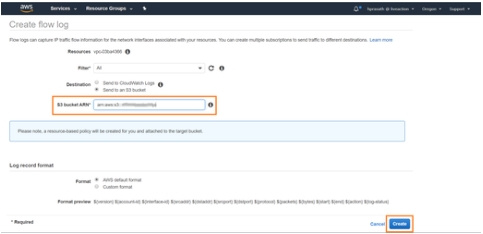
On clicking 'Create,' AWS Flow logs will be sent to S3 bucket. We will now configure the LiveNX-CM to read from S3 bucket.